Build your sensor stack in 6 quick steps
Order from top to bottom: Nano, DHT11, MPU6050, BMP180, GPS module.
Arduino Nano (USB-C)
Breadboard
DHT11 Sensor
MPU6050 Sensor
BMP180 Sensor
GPS NEO-6M
Jumper Wires
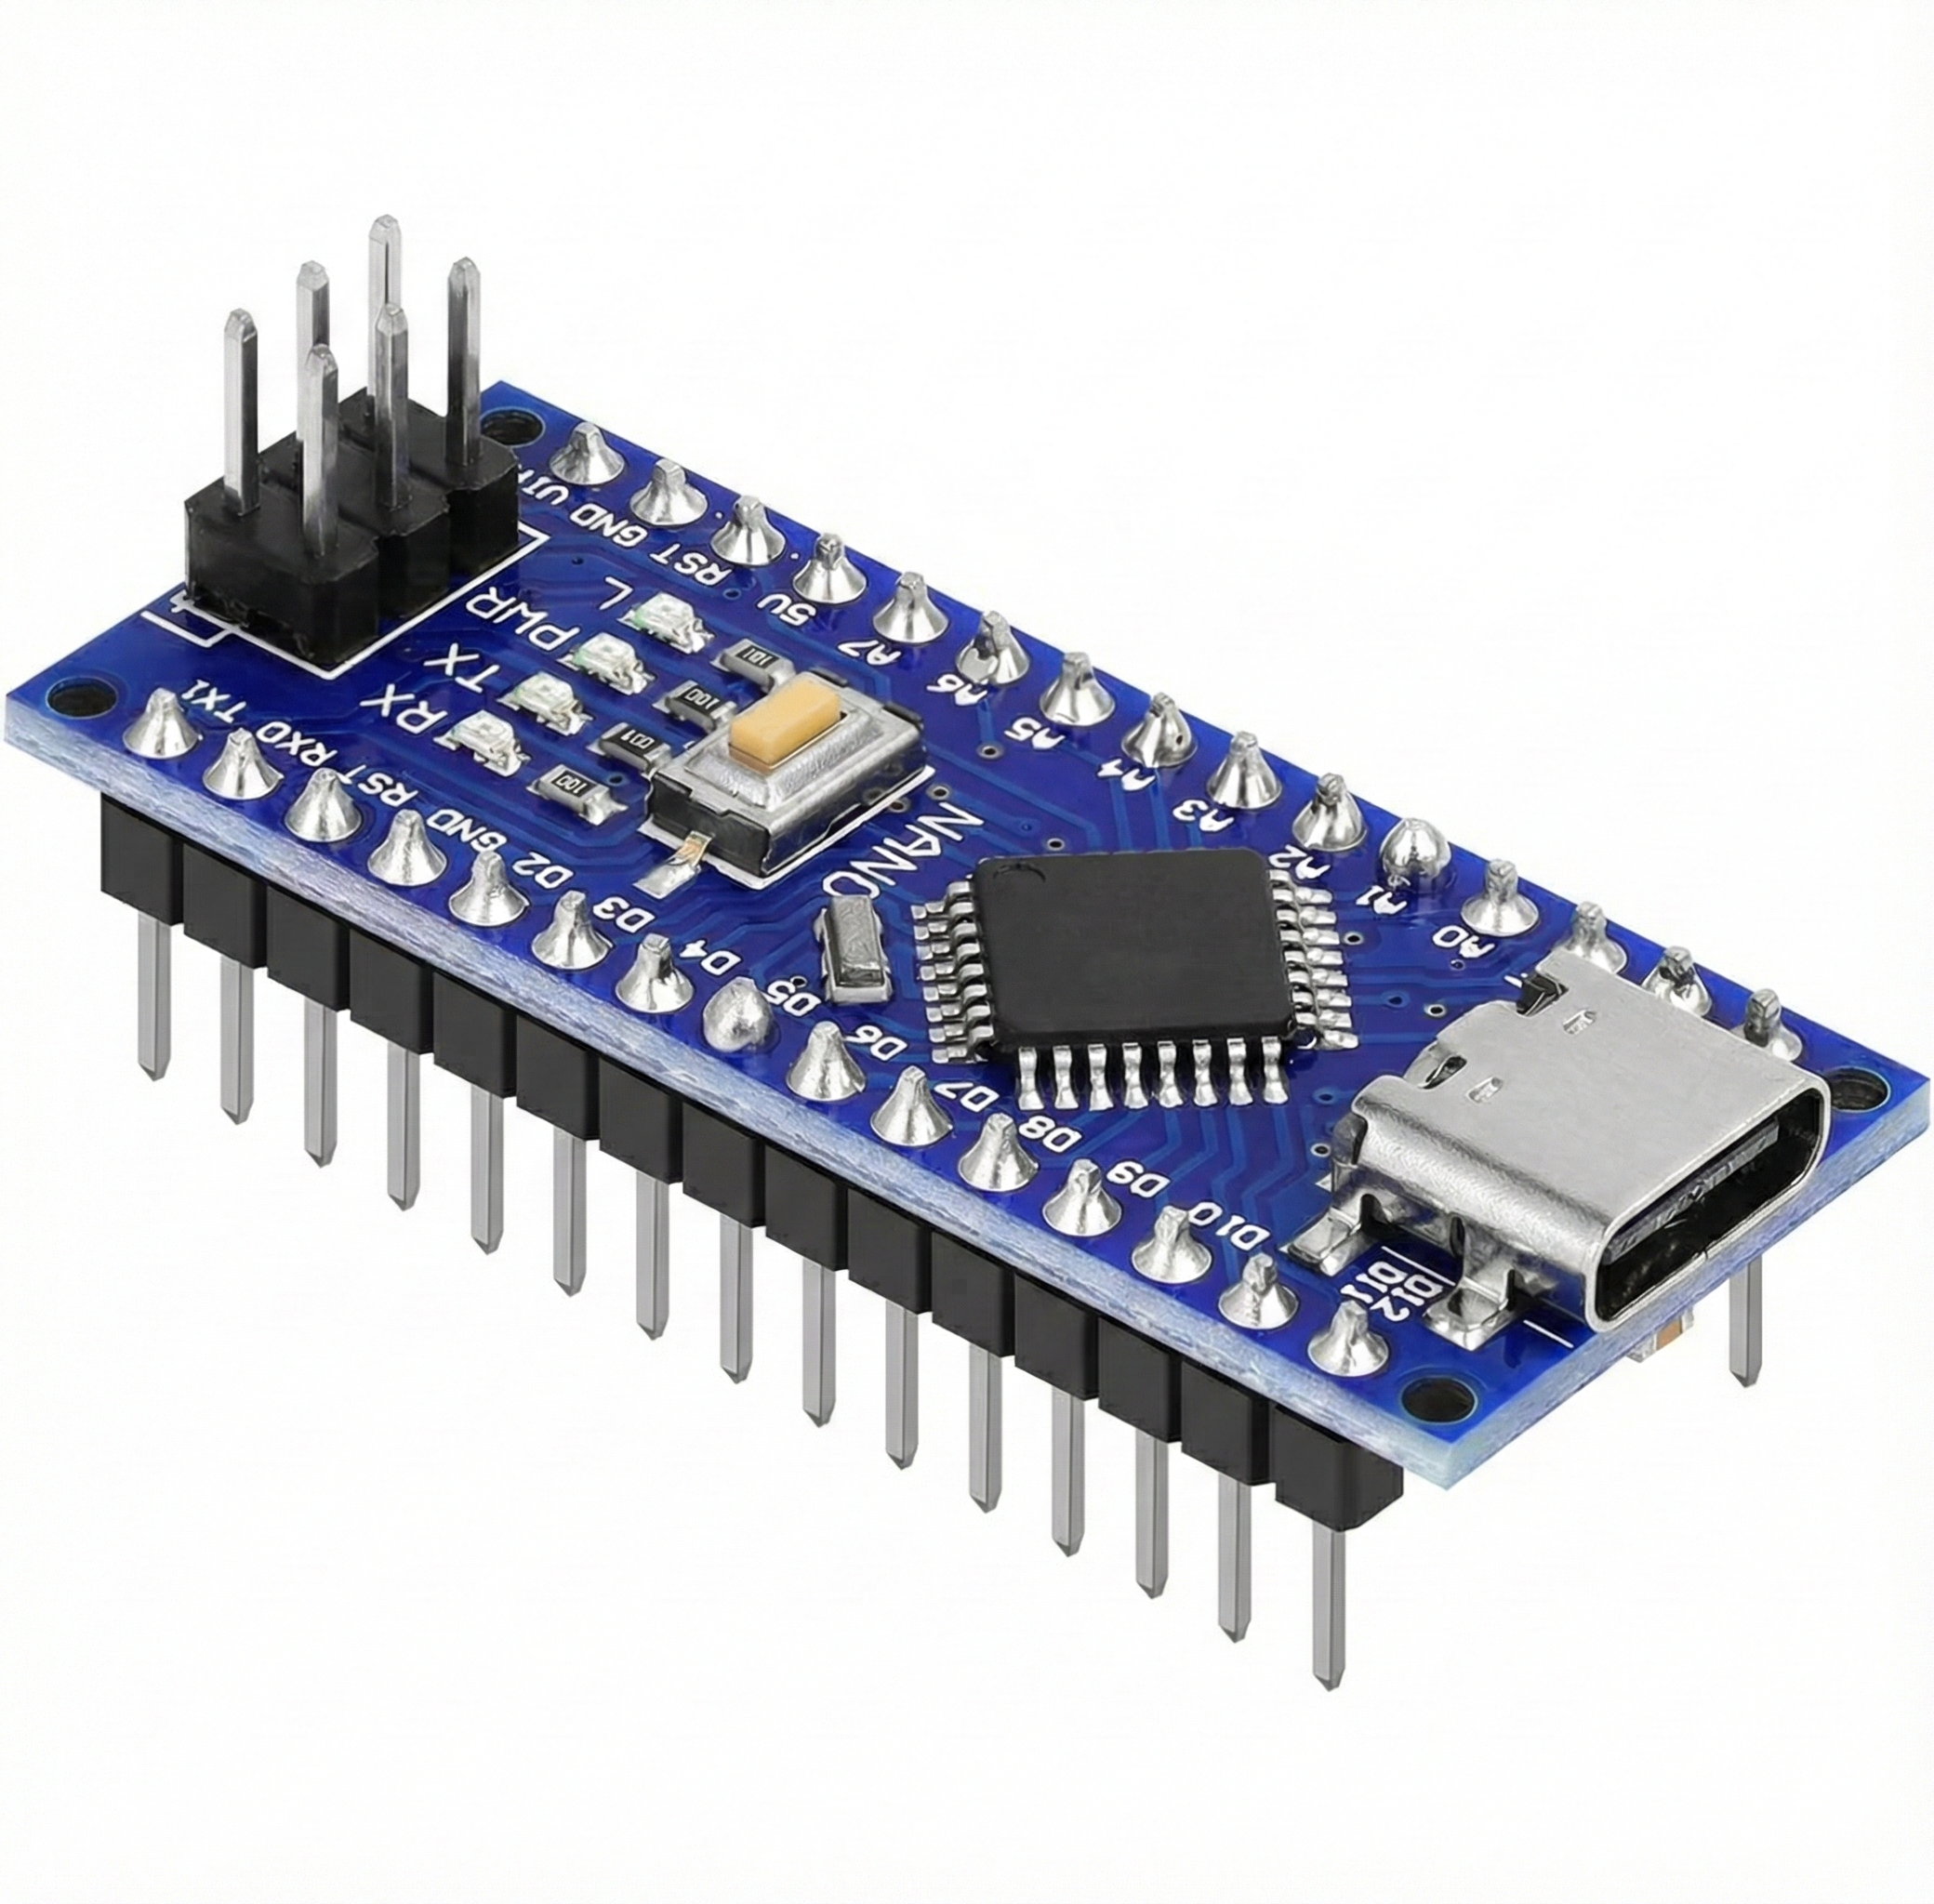 Arduino Nano USB-C
 DHT11 Sensor
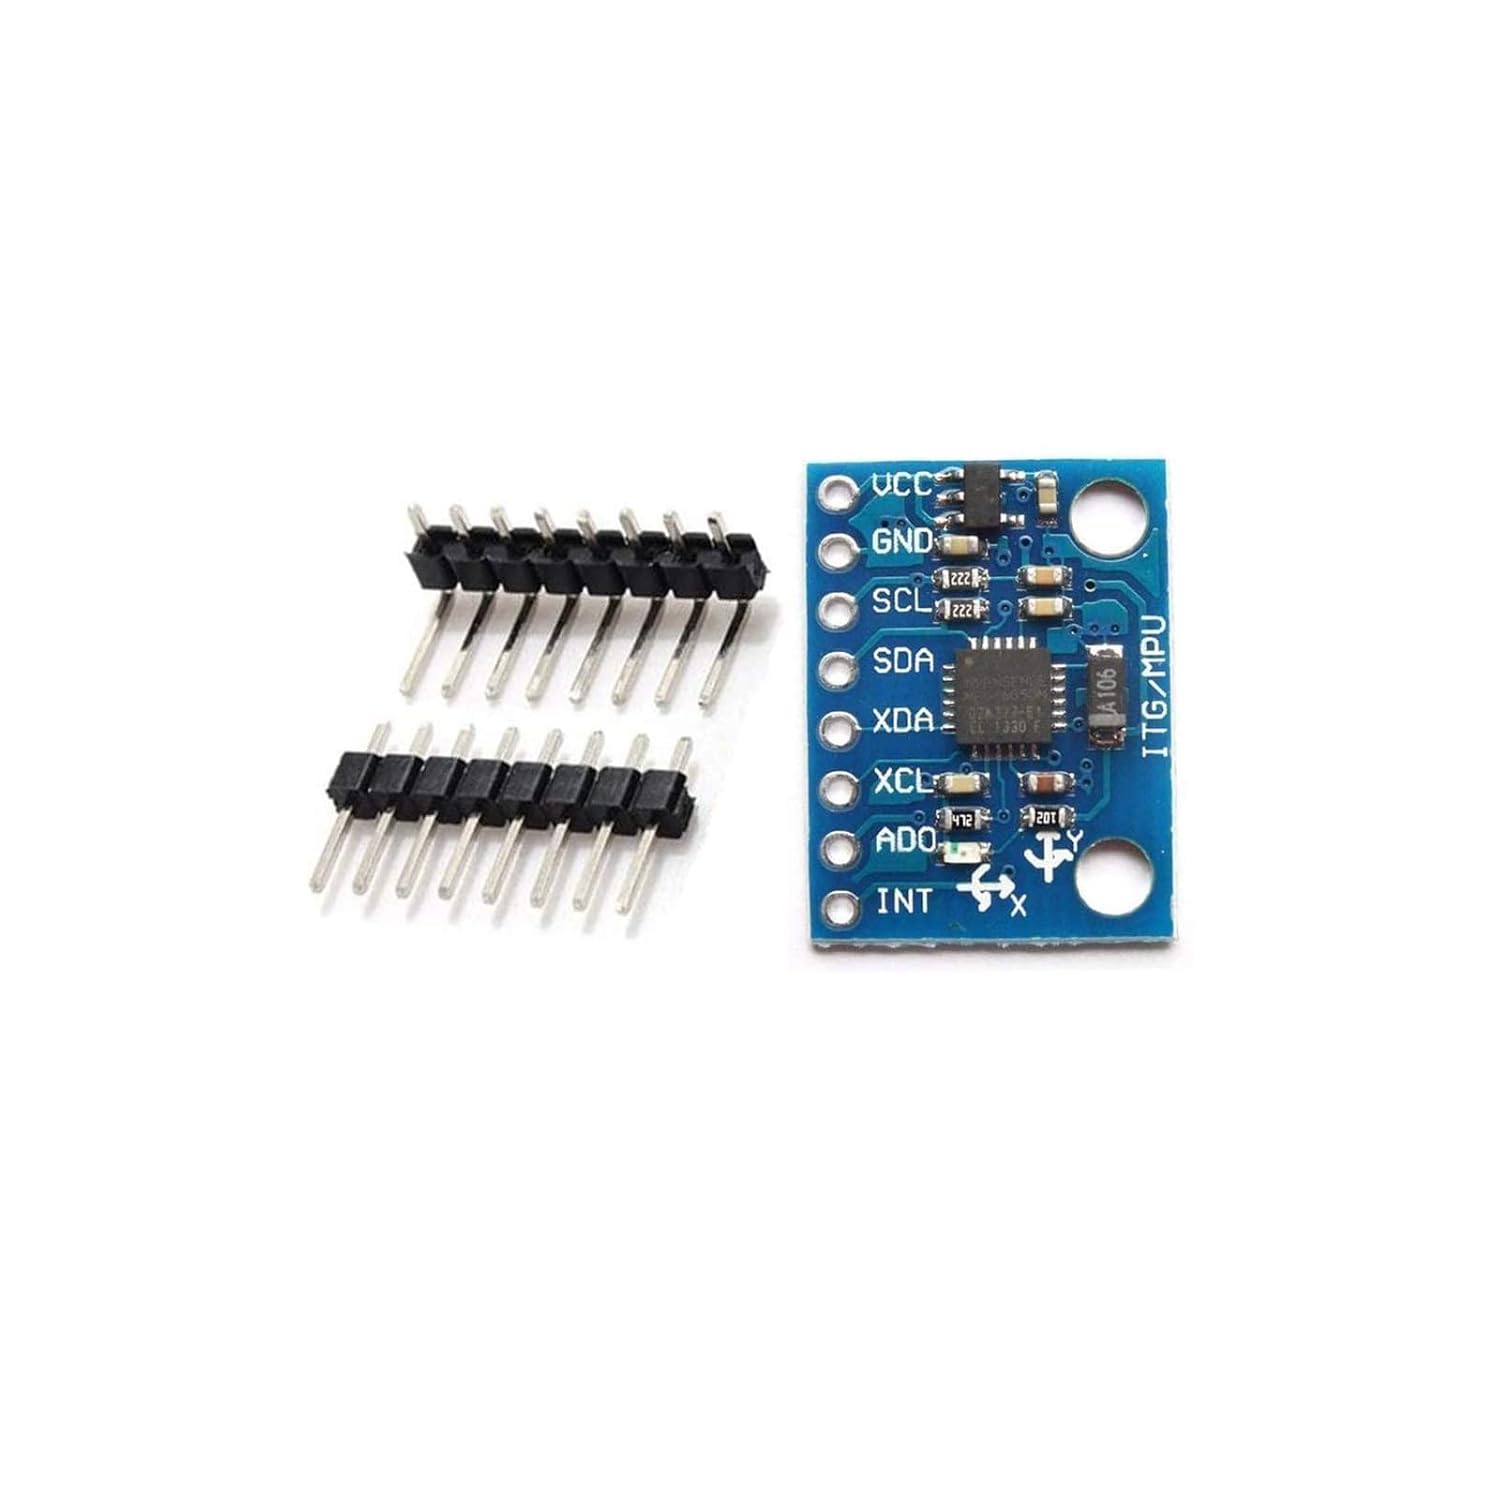 MPU6050 Sensor
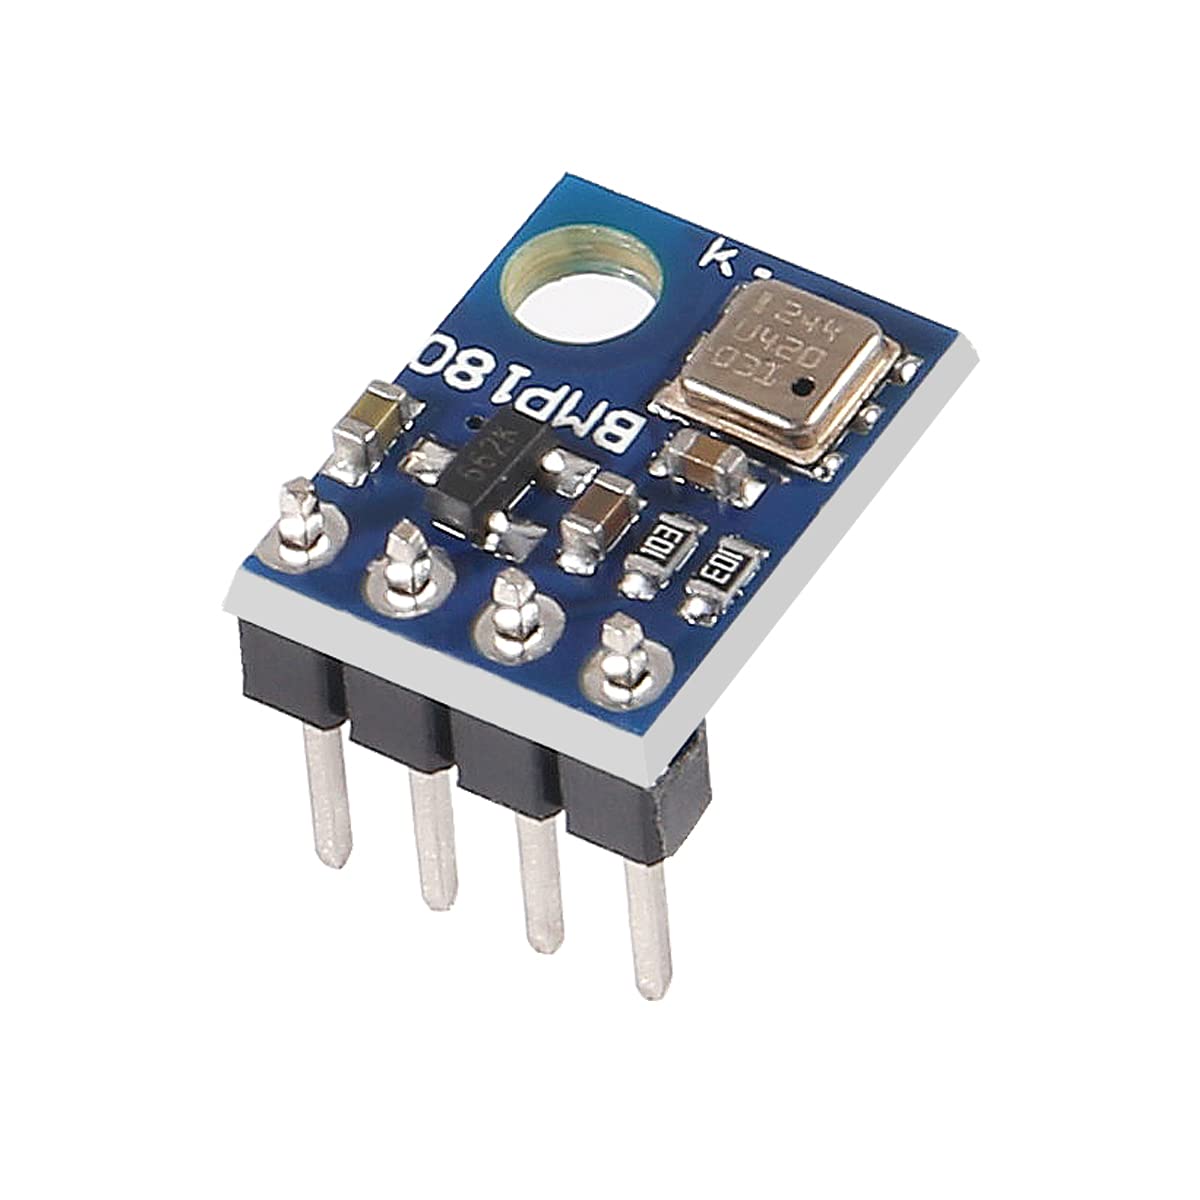 BMP180 Sensor
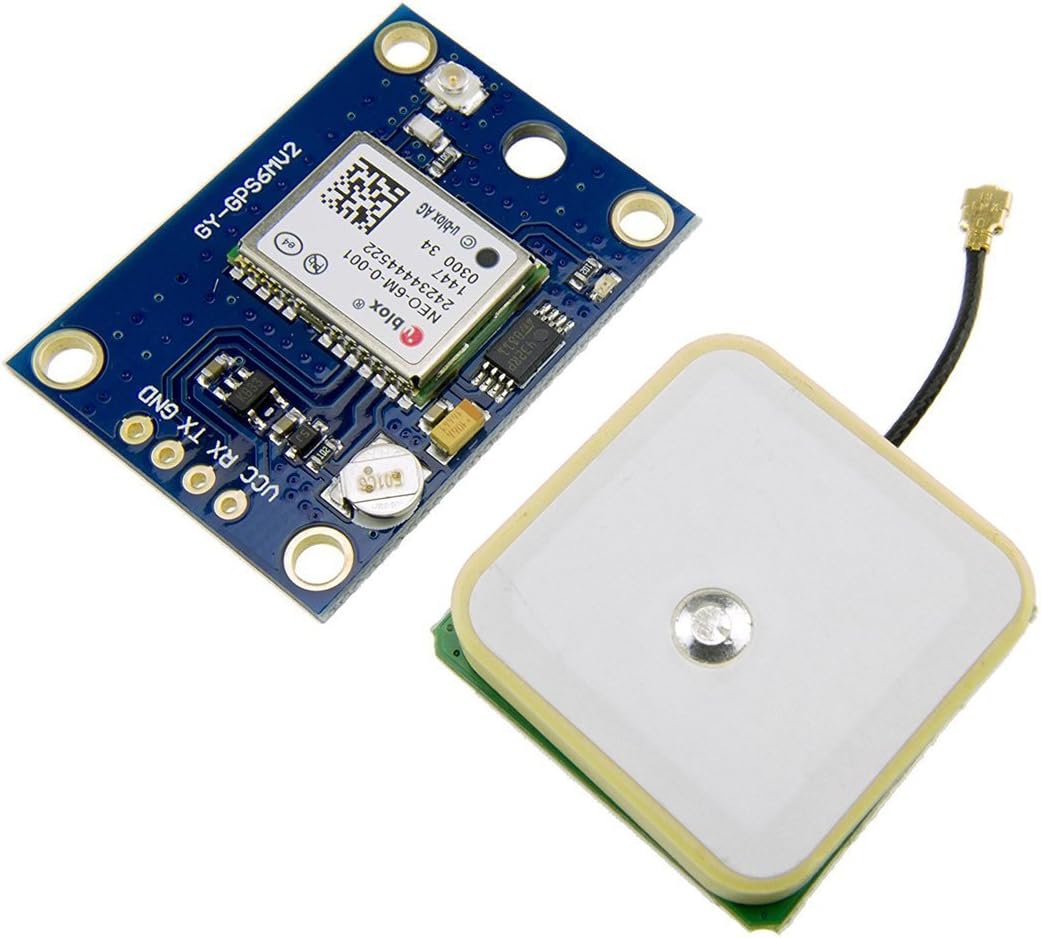 GPS NEO-6M
Nano
DHT11
MPU6050
BMP180
GPS
Done
Step 1 wiring view
5V
GND
3.3V
Data
GPS serial
Step 1
Place the Nano at the top of the breadboard.